
This was my first reaction when Michelle Glaeser asked me if I wanted to try her green gold clay. Green gold? Really? WOOOW!!! Of course I wanted to try it! With all my leaves, flowers and other organic ornaments, this was a dream come true, so I was waiting for a package with this precious material like for a birthday party ;).
Generally, I have to say I'm VERY impressed by this clay, how easy it is to use and how dramatic the final effect is. In my opinion it is extremely beautiful and unusual way to embellish a piece.
Below you can find photos of three projects I made with addition of this clay, and notes on what I learned while making them. So let the story begin :).
I got from Michelle about 0.7 g of her 18 K green gold clay, which is a bit less than a half of a regular batch she sells. 0.7 g... Right. I was just hoping I would see this batch without a magnifying glass ;).
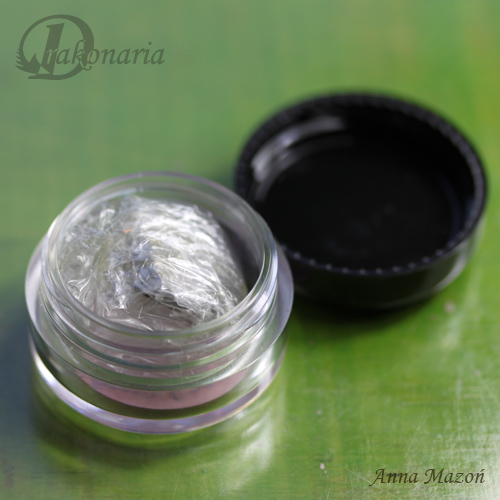
When the package arrived I opened it holding my breath ;) and found this cute little jar, with clay wrapped in a kitchen plastic foil inside.
When I unwrapped the foil I immediately felt a smell of SO beautiful essential oils. Something like rose, sandalwood... Generally lovely, oriental fragrance. I'm looking at my notes, and I see I wrote down, that it smells like an India shop :). But it is seriously very pleasant and so unexpected. You get gold clay smelling like roses :). How cool is that?
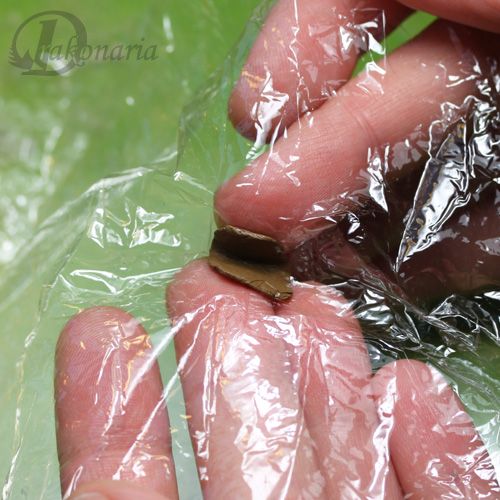
The clay was very moist, but it had a bit uneven texture so I kneaded it for a while. I decided that the best way was to make it through the foil it came in. I didn't know the texture of this clay yet and definitely didn't want to end up with all I had stuck to my fingers. This way I got totally not sticky, perfectly moistured, smooth clay very quickly and without any stress.
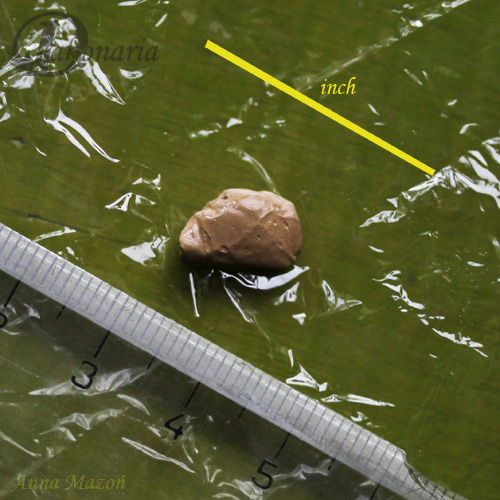
Here you can see the size of the batch I got (less than a half of regular batch). It's light brown, not green at all. It may be surprising, but this gold turns green during sintering process. It's Michelle's secret how does this exactly work :).
As you can see the batch isn't big. At least I thought so, until I started working with it. I know it may sound unbelievable, but it's actually a lot of clay. I was sure I would use all the clay I had for the first ring I wanted to make. But it turned out, that I used about 1/3 of the batch and made twelve, quite big leaves. Overall I made, out of this one 0.7 g batch, 26 leaves and 12 balls which I used in three projects, and I still have a tiny bit of the gold left. It is simply because when you work with so precious material, you rather work small and smart.
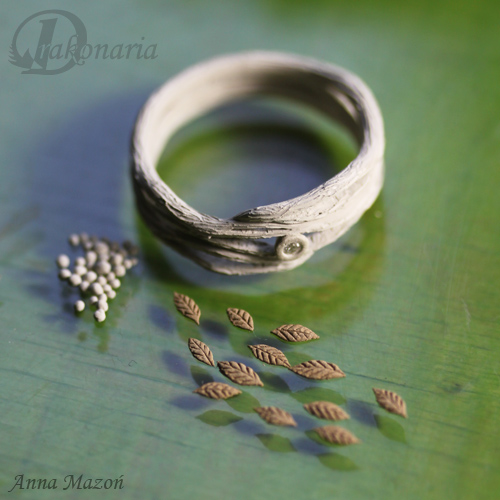
The first thing I wanted to make was a silver twig ring, with a diamond, some flowers and green gold leaves. It was a whole "for the first time" experience. I used here PMC3 (and I've never used any kind of PMC before - we only have Art Clay distributor here in Poland), for the first time fired a diamond and, last but not least, for the first time I used this 18 K green gold.
I just put everything together with silver paste. Yes, you can fire this green gold with silver, simply greenware to greenware. Just put all elements together with silver paste, but make sure not to stain with silver paste any gold surfaces that will be visible. The clay dries quite slowely and has great workability.
1. It can be torch fired, I haven't tried it though.
2. It can be fired in a kiln
3. It can be fired in a kiln in activated carbon
For this ring Michelle recommended the third option - firing in activated carbon - because of the diamond. It would be probably destroyed in any kind of open air firing. It is generally believed that fine silver clay needs to be fired in open air, but Michelle Glaeser found out that fine silver gets full shrinkage after 2 firings in carbon. She recommends 1505 ºF (818 ºC) for two hours, bring down to 200 ºF (circa 100 ºC), then fire again 1505 ºF for two hours. This 1505 ºF is a minimum temperature for the green gold, but you can go higher. What can I say - it works.
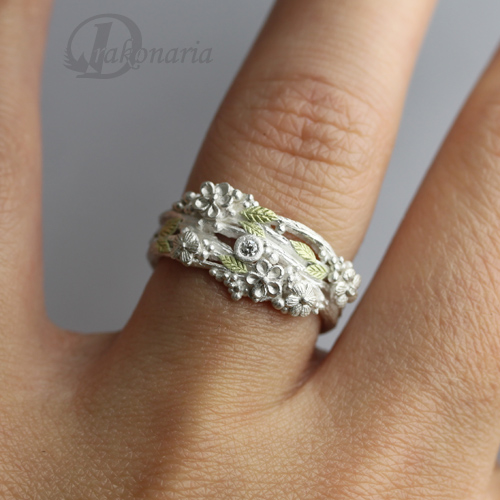
You can see in this photo how does green gold look like right after firing. It's already green - nice, light shade of green.

Here you can see, that, as expected, green gold doesn't react to LOS patina. It stays bright and clean against dark surface of oxidized silver.
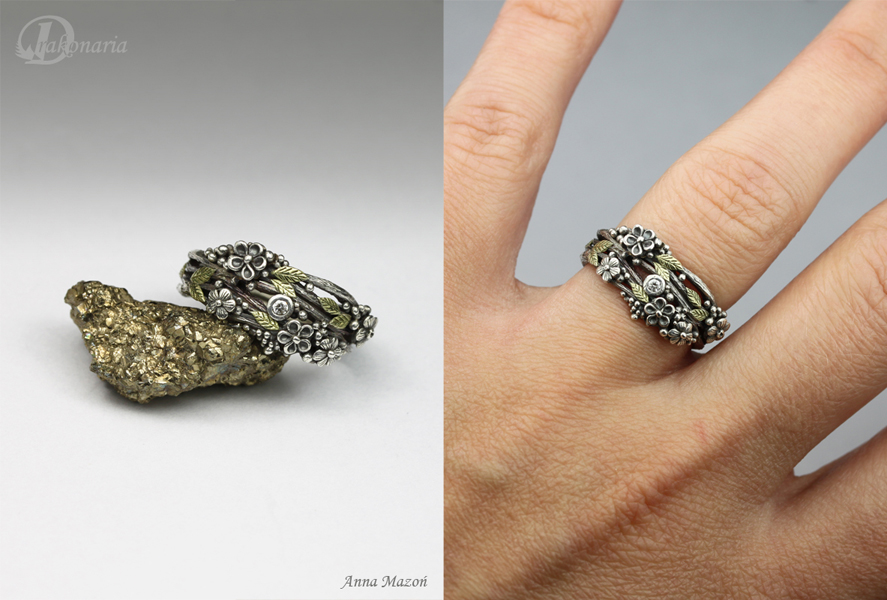
And here you can see how the ready ring looks like. I made one photo with a piece of pyrite, to show a difference in colour between this yellow gold tone of the stone and greener shade of green gold. It can be easily polished with any tools you use for silver.
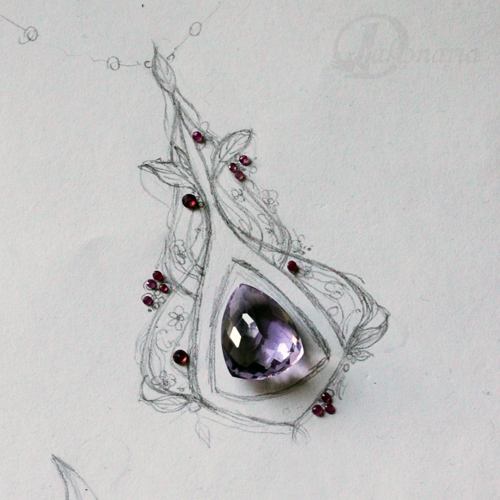
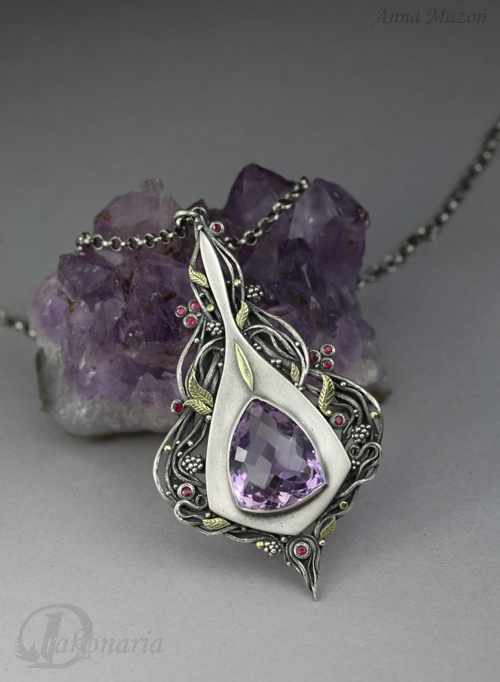
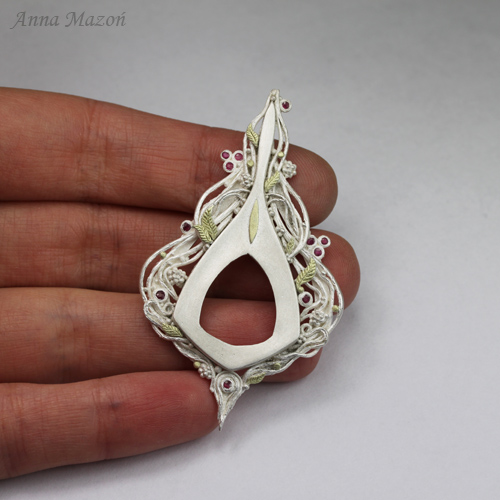
Then I decided to make something bigger, and more complicated. I made a rough sketch of an openwork pendant, a bit inspired by Art Nouveau, with faceted rubies, amethyst and green gold detailing (leaves, balls etc.).

Here you can see the pendant ready for firing. It had a lot more of green gold than the ring. I made some bigger leaves and balls. I had to work smart here and for example I flattened the balls to give them bigger, visible surface. Leaves are also made in a special way - they are green gold "doublets". I didn't want to make them too thick (it would be a waste of gold), so I paired them with silver leaves of exactly the same shape. I glued them together with silver paste, and added this strong, thick pieces to the pendant.
This time there was no need for carbon firing, so I fired the pendant simply in a kiln. I used generally the same firing schedule as previously, but went a little bit higher - 1540 ºF (838 ºC) for two hours, bring down to 200 ºF (circa 100 ºC), then fire again 1540 ºF for two hours.
The pendant came out of the kiln just perfect. You can see here again the shade of green gold right after firing.
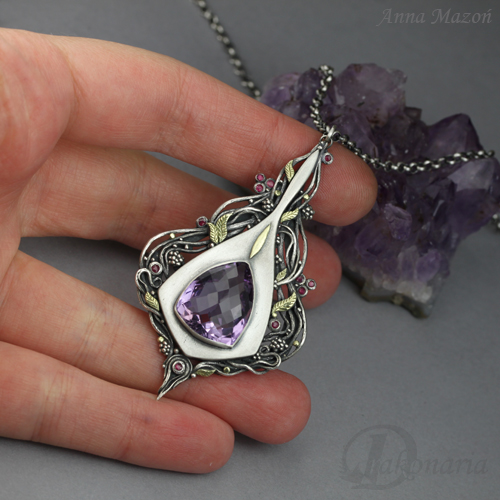
I soldered a bezel for the amethyst and a jump ring, oxidized the piece, polished it partially and it was ready.
I'm pretty happy with the fact that this piece is both symmetrical and asymmetrical. I hope that this adds some movement and organic quality to the design. I named it "Once upon a time" ;). I'm still struggling with the chain... Maybe something else would be better. Originally I wanted to hang it on a strand of faceted amethysts, but it would be definitely too much.
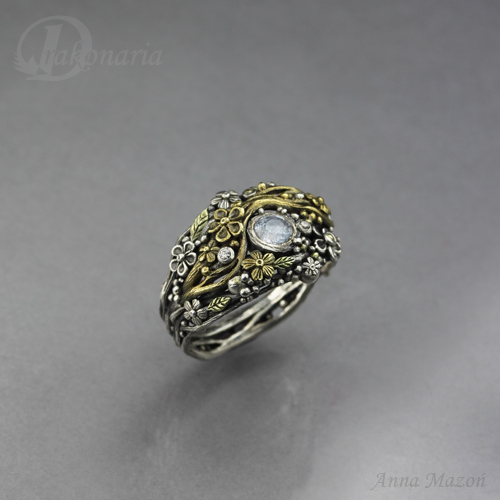
Here is the last piece I made with green gold. Actually there is only a small addition of green gold in this ring (just leaves and a few tiny balls). It also contains yellow gold (22 K Art Clay Gold), silver (PMC3), two diamonds and lovely pale sapphire. You can see here the difference between 22K yellow gold and 18K green gold. In the next post, dedicated to yellow gold, I'll show you a few photos I took while making this piece. It was really great mixed metals fun :).

Like I said at the beginning, I really love this green gold clay by Michelle Glaeser. The final effect is simply fantastic and I appreciate the fact it can be fired in every possible way. It's also wonderful that it can be joined with silver greenware to greenware. Basically it has fine silver's simplicity of usage, but it brings to a piece truly precious quality.
Here you can find Michelle's blog: http://rosegoldclay.blogspot.com/
And here you can buy the clay: http://www.etsy.com/shop/mfglaeser


